

Free coloring pages of Halloween Crazy pumpkin
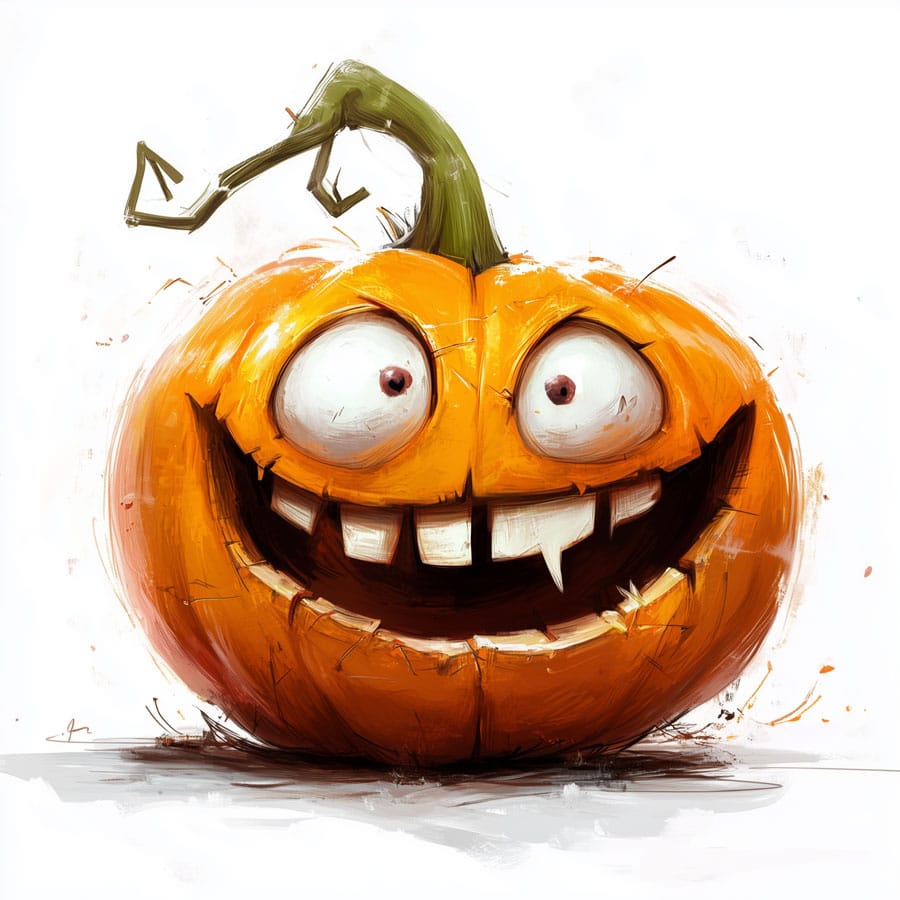
Grab the pencils: this halloween crazy pumpkin looks great with texture and shading. Make it unique.
Artificial Intelligence: Some images and texts have been created using Artificial Intelligence. However, all of them undergo a process of control and photographic retouching, vectorization and/or redrawing that makes them unique and safe.
Logos and Trademarks: Logos or company names are used for identification purposes only and may be trademarks of their respective owners
Licence: The generated images are in the Public Domain but are licensed under CC BY-NC-ND 4.0.
Description
Have you ever seen such a crazy and fun Halloween pumpkin? While some people choose to celebrate Halloween by dressing up as scary monsters, you can make Halloween a much more fun and joyful day. Celebrate it however you like, but most importantly, with lots of fun and color.
Tips and tricks
In this fun coloring picture, a crazy and funny Halloween pumpkin comes to life, waiting for children aged 6 to 12 to fill it with vibrant colors. This type of drawing is perfect for young artists to let their imaginations run wild and experiment with different coloring techniques to create a unique, personality-filled pumpkin.
Ideas and tricks to colour your Halloween pumpkin
1. Pumpkin Color:
•Use traditional orange tones for the pumpkin’s body. Start with a light base and add darker shades around the edges to give it volume.
•For a more original touch, try unconventional colors like greens or purples—this will make your pumpkin even more unique!
2. Shading and Depth:
•Add shadows in the folds of the pumpkin to make it more three-dimensional. Use dark brown or even a bit of black in areas where the light doesn’t hit directly.
•Shadows can also be applied around the eyes and mouth to enhance its crazy, fun expression.
3. Details on the Face:
•Highlight the eyes with bright colors like yellow or white to bring them to life. Use a lighter colored pencil or a white gel pen to add highlights to the pupils, making them more expressive.
•For the teeth, use a bright white and add soft shadows to give them a 3D look.
4. Textures:
•To simulate the rough texture of the pumpkin’s skin, use short, soft strokes with colored pencils or fine-tipped markers. This will give it a more realistic look.
•The stem can be colored with shades of green or brown. Use curved lines to highlight the natural texture of the stem.
5. Background and Extra Details:
•Create a spooky background using watercolors in dark tones like purple or midnight blue. Add shadows to create a more mysterious atmosphere.
•You can also add extra details like bats, leaves, or Halloween lights to bring more life to the scene.
6. Complementary Materials:
•Colored pencils: Perfect for blending tones and creating soft shadows. •Markers: Ideal for highlighting details like the eyes and mouth of the pumpkin. •Watercolors: Use them for the background or large areas like the sky to achieve a smoother, more even finish. •Glitter: Add some sparkle to the leaves or the pumpkin’s details to make it pop more on the page.
More colouring pages in the Dates and holidays category
Ideas para colorear tu dibujo de Halloween Crazy pumpkin